How to identify a line with no part number: nut thread, seat, diameter, length, bends
- Author
- Alperen Kumru
- First published
- First published:
- Last updated
- Last updated:
- Reading time
- 6 min read
- Category
- OEM numbers and sourcing
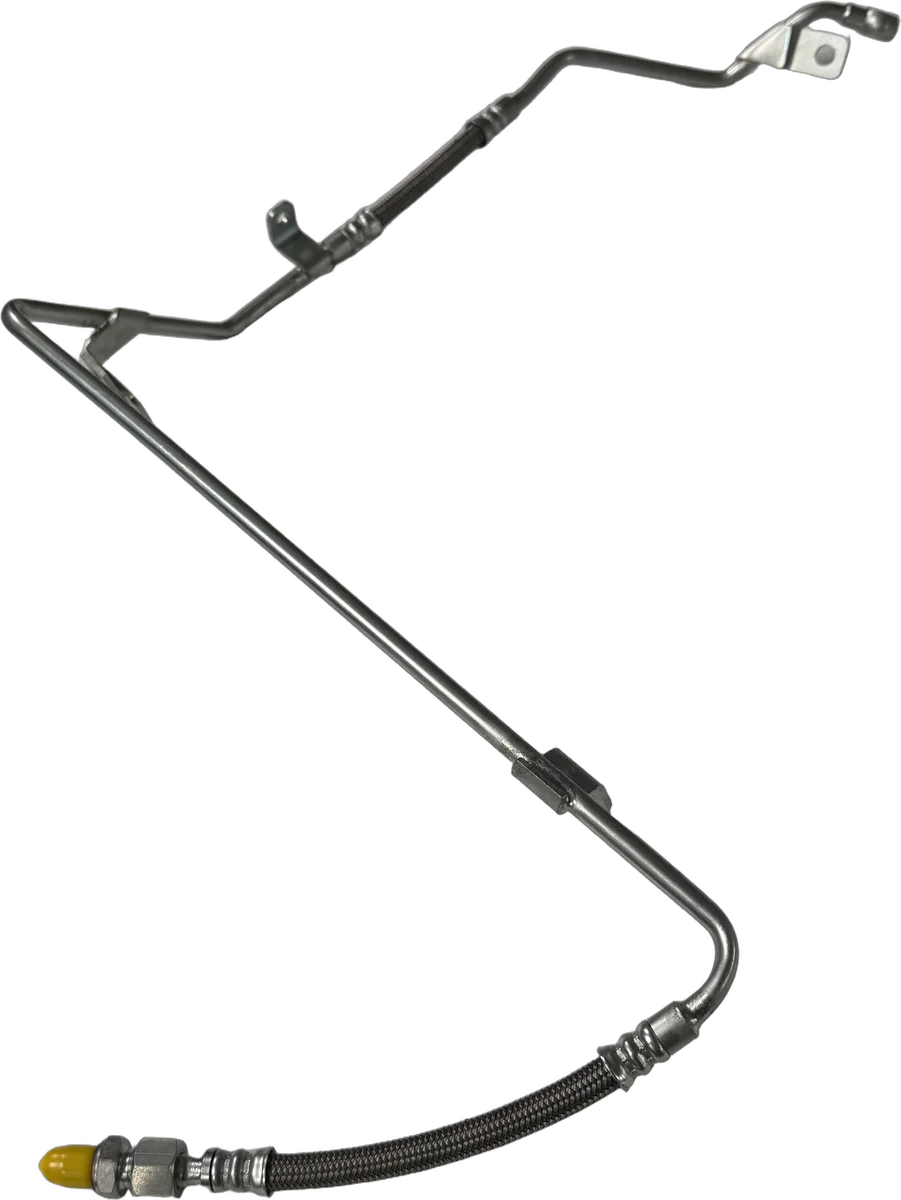
An injector line, fuel pipe or oil pipe with no readable part number can still be described. It takes six things: the outside diameter and wall thickness of the tube, its length, the nut thread at each end, the type of seat, the position and direction of each bend, and the two points the line connects. A caliper, a thread pitch gauge, a rule and a protractor are enough.
Short answer
- Diameter and length: Bosch gives the size of a high-pressure line as outside diameter, wall thickness and length.
- Nut thread: caliper for the diameter, pitch gauge for the pitch. A used thread can mislead.
- Seat: formed cone, flare, banjo or O-ring on a flat face. Describe each end separately.
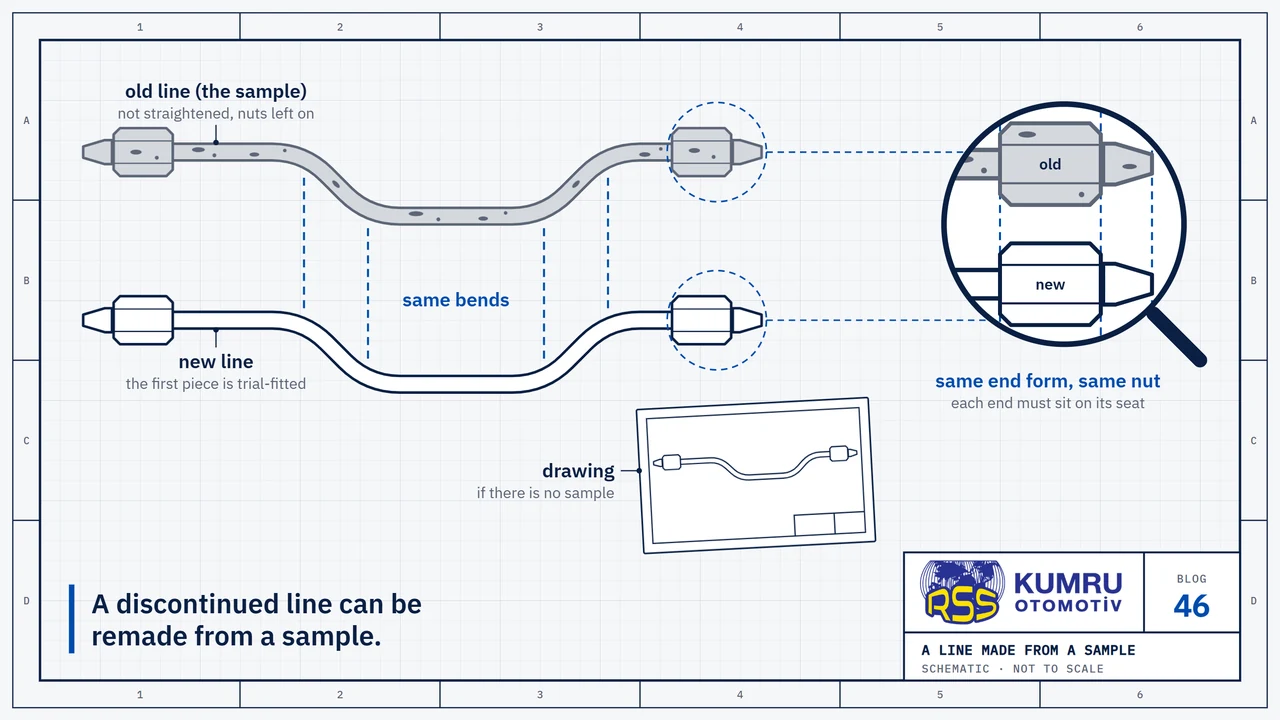
- Bends: position, angle and direction of each one. The old line describes the shape best.
What has to be measured to describe a line with no number?
Three things describe a line: the tube, its two ends and its shape. For the tube, Bosch’s Diesel Engine Management gives a ready-made order: the dimensions of high-pressure lines are usually stated as outside diameter, wall thickness and length. It also says why none of them can be taken roughly:
“Length, diameter and wall depth of the high-pressure lines all affect the injection process.”
Bosch, Diesel Engine Management, p. 170
According to the book, length influences the rate of discharge as engine speed changes, and the internal diameter shows in the quantity of fuel injected. The result is “prescribed line dimensions that must be strictly observed”.
| Item | Tool | What to write down |
|---|---|---|
| Tube | Caliper | Outside diameter; wall thickness or the hole at the end |
| Length | Rule, tape measure | Corner-to-corner distances or length along the centre line |
| Nut thread | Caliper, pitch gauge | Diameter and pitch; internal or external; spanner size |
| Seat | Eye, seat angle gauge | Formed cone, flare, banjo or O-ring on a flat face |
| Bends | Rule, protractor | Position, angle and direction of each bend |
| Connection points | Photographs | Which outlet to which inlet; which cylinder |
How do you measure the tube’s diameter?
Measure the outside diameter with a caliper on a straight, undamaged part of the tube.
The bore needs more care. Bosch’s drawing of the sealing cone lists the inner diameter of the line and the inner diameter of the cone separately. The book does not say so in words, but the list of dimensions shows it: the hole at the end of the line may not be the bore of the tube. Record it as “hole at the end”, and do not work the wall thickness out from it.
How do you measure the nut thread?
The nut thread takes two measurements: diameter with a caliper, pitch with a pitch gauge. Brennan Industries, a fittings manufacturer, puts it this way: the caliper “measures the I.D. of a female thread and O.D. of a male thread”, and the gauge is tried until it fits snugly. It reads threads per inch on inch threads and the distance between threads on metric ones. The result is checked against a thread chart.
Our suggestion: if you can reach the thread the nut screws onto, the external thread on the pump or the injector, measure it too and say which thread each figure is from. A used thread can mislead. Brennan’s warning:
“Threads that have been in-service may show inaccurate comparison between the measurement and the thread tables”
Brennan Industries, How To: Measure Threads in Three Steps, 23 August 2017
For a fitting with worn threads Brennan suggests replacement: “damaged threads are likely to leak”. How the thread families are told apart is covered in our article on fitting and thread types.
How do you describe the seat?
Name the type of seat: formed cone, flare, banjo, or O-ring on a flat face. A high-pressure injector line has a cone. In Bosch’s description the sealing cone is formed on the end of the line and the union nut presses it into the connection fitting. Some versions add a thrust washer; if there is one, say so. On other pipes, write down the type at each end; the two need not match.
How do you measure length and bends?
A bent tube is described by corner-to-corner distances plus the angle and direction of each bend. Swagelok’s hand tube bender manual lays a tube out in those terms: from a reference mark at the end of the tube to the vertex of the first bend, then from vertex to vertex. Its definition: “The vertex is where the center lines of the two legs of the angle intersect.”
- Start at one end. Measure to the vertex of the first bend, then from vertex to vertex, writing down each straight leg in order.
- Read the angles. The manual wants a bend angle verified “using a template, protractor or against a known angle”.
- Record the direction. Same way as the bend before it, the opposite way, or into another plane? Note which way each end points too.
One of its notes matters for length: “The distance around a radiused bend is always less than a sharp bend.” The manual is written for bending new tube. For someone measuring an old one, the consequence is that the corner-to-corner figures add up to more than the length along the centre line. Say which you are giving.
The old line describes the shape best. On a tractor forum, an owner whose injector lines had been discontinued sent the old set to a diesel shop as a pattern; another member thought the hard part of working at a distance would be getting the tubes bent “so the ends match up to the connection points on the tractor”.
What should go with the measurements?
The measurements should travel with where the line came from: the plate numbers, the two connection points, and photographs. On a heavy equipment forum, the owner of a loader with a replacement engine wrote that machines using the same engine have different part numbers for that injector line, depending on model and serial number. The reply: “If you’re anywhere near a dealer, I’d take the line off and let them match it up. Bring the numbers off the engine/machine.” We suggest this order:
- Plates. Serial numbers of the machine and the engine; on a Caterpillar, the arrangement number too. Where to find them is covered in a separate article.
- Connection points. Which outlet to which inlet, and which cylinder?
- Photographs. On the engine before removal; the whole line next to a rule; each end close up.
- What is left of the number. Copy the readable characters as they are; do not guess the rest. Which characters get confused in Caterpillar numbers is covered in our article on part numbers.
- The measurements. In the order of the table. Where you could not measure, write “not measured”.
Sources
- Bosch / Springer, “Diesel Engine Management: Systems and Components (ed. Konrad Reif), pp. 168-170”, reference book, 2014; pp. 168-170, read in Google Books partial view; how line dimensions are stated, sealing cone and union nut.
- Brennan Industries, “How To: Measure Threads in Three Steps”, article by a fittings manufacturer, 23 August 2017; measuring with caliper and pitch gauge, warning on used threads.
- Swagelok, “Hand Tube Bender Manual (MS-13-43, RevG)”, manufacturer's manual, December 2022; laying out bends from vertex to vertex, angle and direction.
- OrangeTractorTalks, “Discontinued Kubota Injector Lines”, forum thread, 31 October to 8 November 2024; field opinion on sending the old lines as a pattern, not a manufacturer instruction.
- Heavy Equipment Forums, “Leaking Injector Line”, forum thread, 15-16 December 2015; a line number question on a machine with a replacement engine, cited as field opinion.
Sources were checked again on October 8, 2026.
RSS Kumru Automotive
RSS Kumru Automotive was founded in 1990 and specialises in hydraulic systems and fluid management. Our range includes injector lines, fuel and oil lines, hoses and fittings.
Brand names and OEM reference numbers are used for identification and compatibility information only.